To appliqué using this method you will need:
- The garment to be appliquéd.
- Stretch fabric from which to cut your appliqué design (ensure it has a similar amount of stretch to your garment)
- Paper, pencils, scissors etc.
- Tailors chalk or washable felt tip pen.
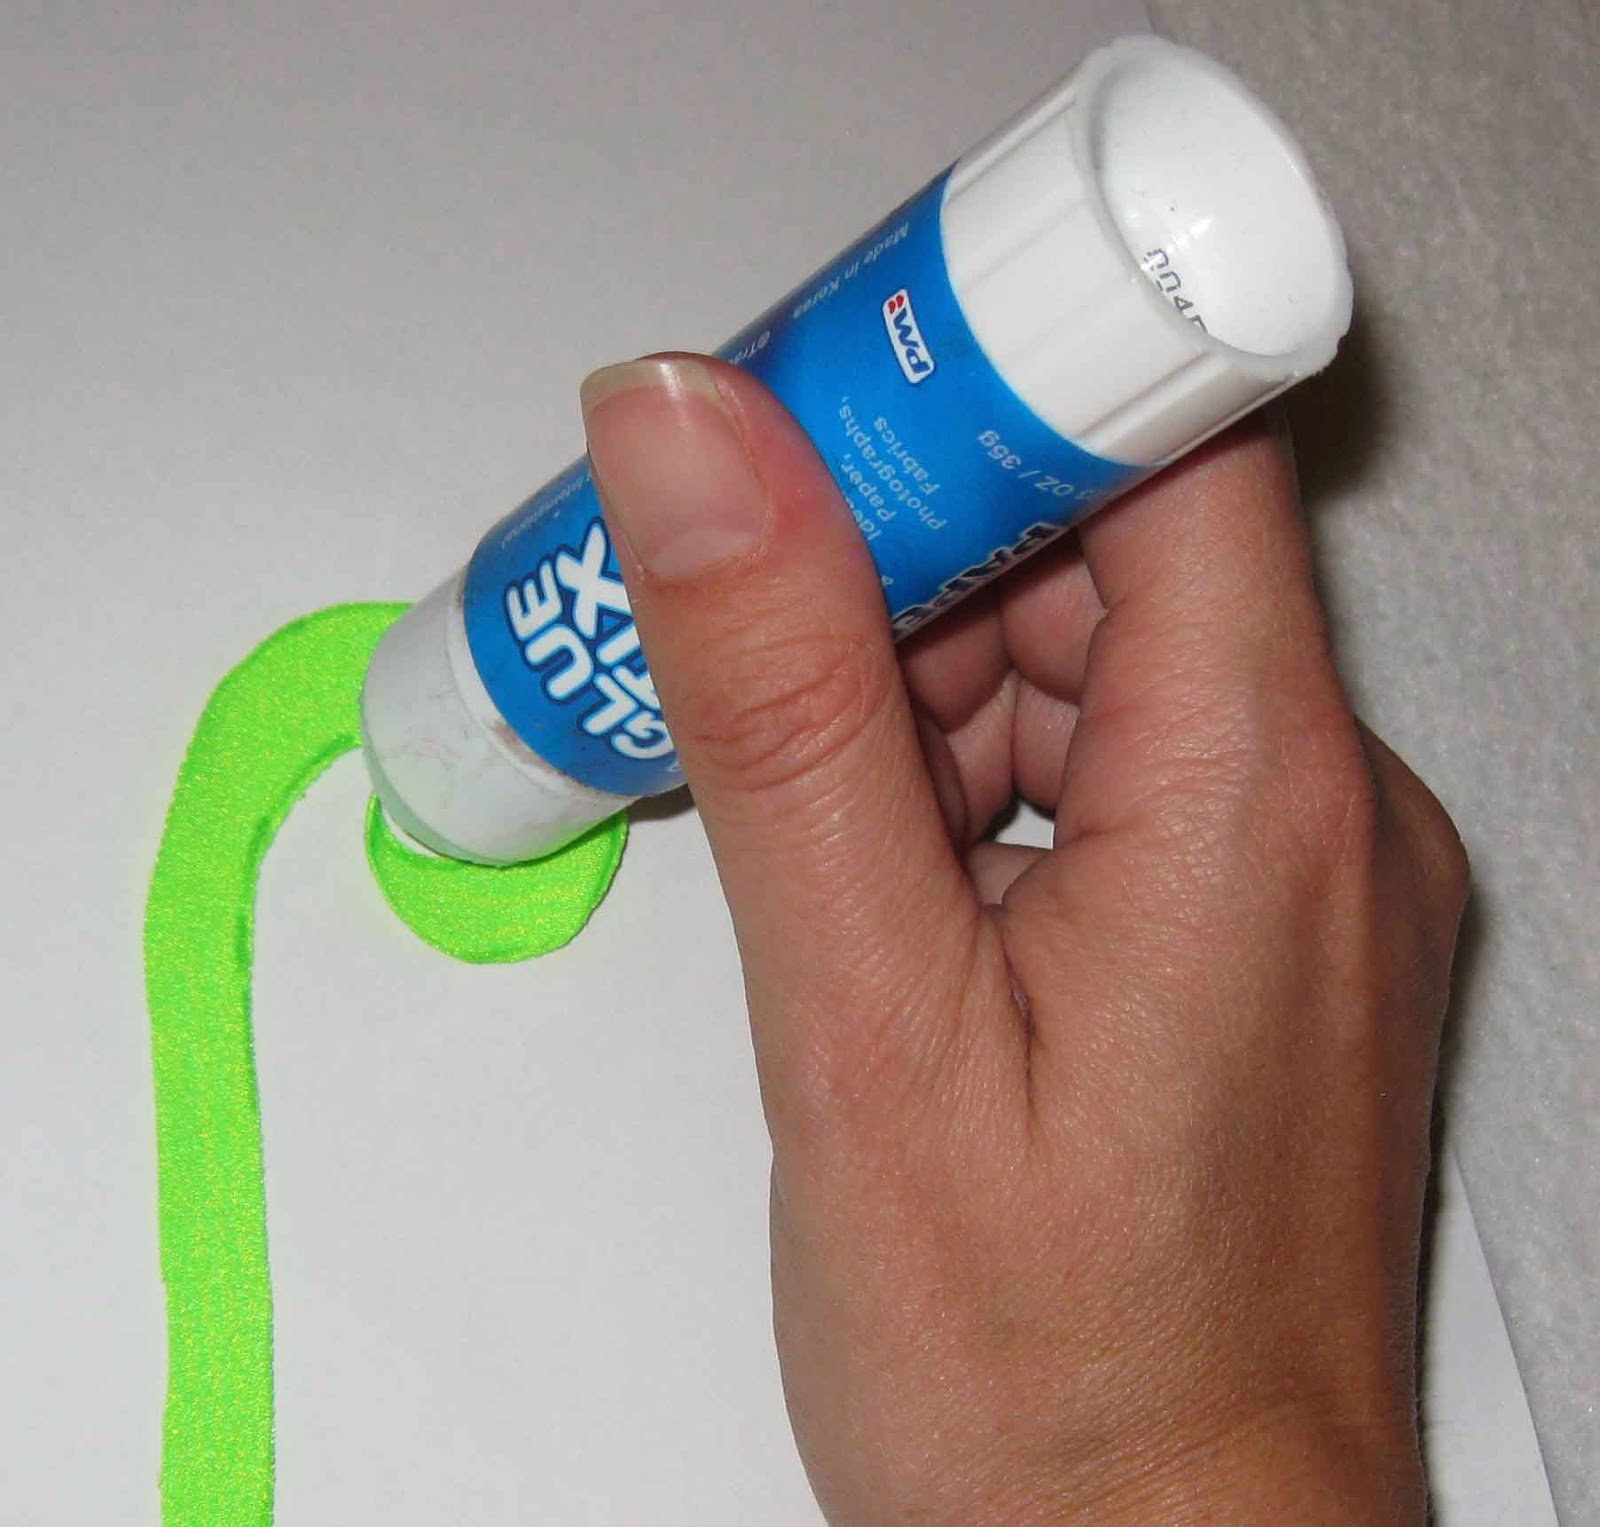
- A child’s washable glue stick (designed to wash out of clothing)
- Sewing supplies
Technique:
1. Leotard
front ready for appliqué. It is easier to appliqué your leotard prior to
sewing it together.
2. Draw
your appliqué design on paper and cut it out.
3. Trace you appliqué design on to your fabric. I use a child’s washable felt tip pen to trace around the shapes but you can use tailors chalk or a washable fabric marking pen if you prefer. Always test your marker on a scrap of fabric to ensure if washes out.
3. Trace you appliqué design on to your fabric. I use a child’s washable felt tip pen to trace around the shapes but you can use tailors chalk or a washable fabric marking pen if you prefer. Always test your marker on a scrap of fabric to ensure if washes out.
4. Cut out your shapes and lay out the design on
your fabric. I like to experiment and move the pieces around at this point to
find the design I like the best. The following 3 designs use the same appliqué
pieces.
5. Use
a child’s washable glue stick to apply glue to the wrong side of the
appliqué. Glue your fabric pieces in position on your garment. Allow the
glue to dry before moving on to the next step.
Note: The glue stick I use is not designed for fabric but is designed to wash out of clothing. This means the first time you wash your garment the glue will wash out. Make sure to test your glue on a scrap of fabric before you begin.
6. Set
your sewing machine to a medium length and medium width zigzag stitch. Sew
around the outside edges of your design.
Note: Ensure both the top and lower layers of fabric stretch an equal amount when sewing or your fabric will pucker. You may need to experiment to get the best stitch length and width for your fabric. If the stitches are too close together they may stretch the leotard out of shape.
Completed applique
Completed applique showing the wrong side of the fabric.
Leotard with applique completed and all ready for gymnastics!
With some basic shapes you can create a huge range of different applique designs.


Wow! thanks a lot, for your tutorial.
ReplyDeleteWow! thanks a lot, for your tutorial.
ReplyDeleteThank you for explaining this technique in a clear way. One question: how did you make the Blue leotard with white stripes (middle of the first row)?
ReplyDeleteThank you for explaining this technique in a clear way. One question: how did you make the Blue leotard with white stripes (middle of the first row)?
ReplyDelete